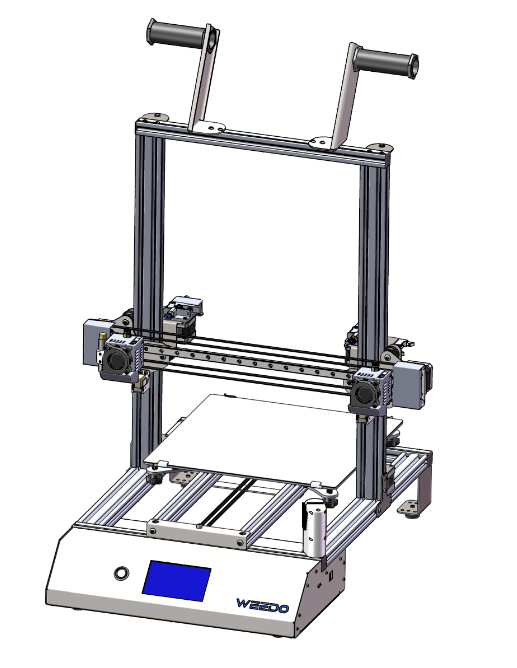
The X40 PRO System
Foreword
Even before I bought the Weedo X40 via the Kickstarter campaign, my goal was to be able to use the printer to create precise components for model making and prototyping. After the device arrived, I quickly realized that this was not possible with the Wiibuilder Silcer and that Ultimaker Cura would have to be used. Since Weedo didn't provide any configuration, I got to work. After several months, firmware updates, configuration work and print tests, it turned out that the Weedo X40's cooling system does not provide sufficient cooling capacity to print all the desired material perfectly. Thanks to the newly developed cooling system, the range of printable materials could be significantly expanded and the quality improved. Another problem was that when using Ultimaker Cura in dual mode, it always stopped over the print object before printing started. Analysis showed that Wiibuilder and Weedo Cura creates a different gcode than Ultimaker Cura. I have therefore decided to fix the problem by adapting the firmware and also to integrate improvements.
The idea for X40 PRO, the Weedo X40 optimization for Ultimaker Cura, was born.
What is the X40 PRO System?
I understand the X40 PRO system or X40 PRO for short as the improvement measures that make it possible with Weedo X40 printers to easily create dimensionally accurate and targeted components with many materials. To put it simply, set the appropriate material, color, desired resolution and print properties in the slicer, align the print object and enjoy a cleanly printed, dimensionally accurate component...
- Weedo X40 Coolingsystem (For printer version V1 and V2)
- X40 PRO Firmware (For printer version V1 and V2)
- X40 PRO Ultimaker Cura Configuration with printing profiles (For printer version V1 and V2)
- Cura Thumbnail Plugin for Weedo X40 / X40 PRO
- Optional dual gear all-metal extruder (BMG) (For printer version V1 and V2)
- Optional X40 PRO High Temperature upgrade
- Optional printing via Octoprint
Who is X40 PRO suitable for?
X40 PRO is intended for professional users such as mechanical engineers, designers, model maker and experienced users who want to use Ultimaker Cura with the Weedo X40.
3D printing beginners should first use the Weedo X40 with the Stock Firmware 1.2.5 or newer and the Weedo Cura to learn how to print and use Cura properly. A direct entry into X40 PRO can overwhelm beginners, since e.g. a printer calibration is required to achieve good print results.
What are the advantages of X40 PRO?
If you install it correctly, configure it and understand the concept, you can easily create high-quality prints and experiment a lot with parameters. All you really have to do is choose the right material, printing profile, platform with adhesion promoter if necessary, align the component correctly in the slicer and, if necessary, make adjustments for the support structure, etc. The optimized firmware allows better prints to be made and we can use the latest Ultimaker Cura version.
Coolingsystem
The revised cooling system does not limit the printer. Exactly the same installation space can be used as with the Weedo X40 cooling system. So why the revision?
There are materials that require very strong cooling, where the original cooling system fails. Improved cooling means that longer bridges can also be printed. In addition, the cooling system is so stable that it is not destroyed during warping, but instead pushes the printed part off the platform or damages it.
- More material types can be printed
- Component optics can be partially improved
- Longer bridges can be printed
- Cooling system is not normally damaged by warping
- Cooling system simplifies nozzle replacement
Youtube Demo Video X40-Community Coolingsystem
- Heating failed error has been fixed by changing settings
- Auto bed leveling has been optimized (Shorter distances)
- Waiting over the print object when changing the extruder has been fixed with new M922 and M923 commands (problem only when using Ultimaker Cura). The nozzle now waits in the park position and the nozzle is cleaned by moving it left and right over the brush. With the M922 you can switch off the filament pre extrusion and use a prime tower.
- Z baby steps in 0.02mm steps instead of 0.05mm
- Speed settings are adjustable from 25% to 400%
- Filament type selection has been expanded and provided with temperature information. Filament feed speed has been reduced.
- Z offset steps are now possible in 0.04 mm steps. After setting the Z offset, the print head now moves back to the park position.
- Default feedrate bug fixed
- At the request of some users, the G2/G3 command has been enabled.
To use the line pieces must be converted to an arc. You can use the Cura plugin or Octopi to do this. According to the Marlin changelog, various changes were made to the G2/G3 command after the Marlin version used by Weedo. Among other things, a division by zero has been fixed. It is therefore possible that the printer hangs due to the G2/G3 commands.
If you want to have the errors fixed, you can send me a corresponding patch. - Accurate and better prints by using Linear Advance are possible. The Cura Engineering printing profiles from the Weedo X40 PRO configuration are equipped with the corresponding K-factors. Currently only the AddNorth printing profiles support Linear Advance.
- The M0 command for a pause has been integrated (only works via the MicroSD card!). With the help of the pause function you can e.g. embed a nut for a blind hole thread.
- The display of firmware parameters has been expanded
- The firmware parameter backup function has been expanded. All important printer parameters are now saved on the MicroSD card. The data should be backed up before each firmware update.
- German translation has been revised
- The BMG variant enables the use of a BMG extruder, which generates significantly more power and the filament no longer slips through or the nozzle does not clog as quickly. Due to the gear ratio on the extruder, the filament can be guided more precisely and the printing result is improved.
- The printer self-test is now disabled by default and can be re-enabled if required.
- The XYZ axis has been calibrated, allowing for more accurate prints. AddNorth E-PLA was used as reference material (flow 100%). With all other Cura printing profiles, the flow may be adjusted so that an accurate parts comes out. Please calibrate the Weedo X40 printer for accurate prints.
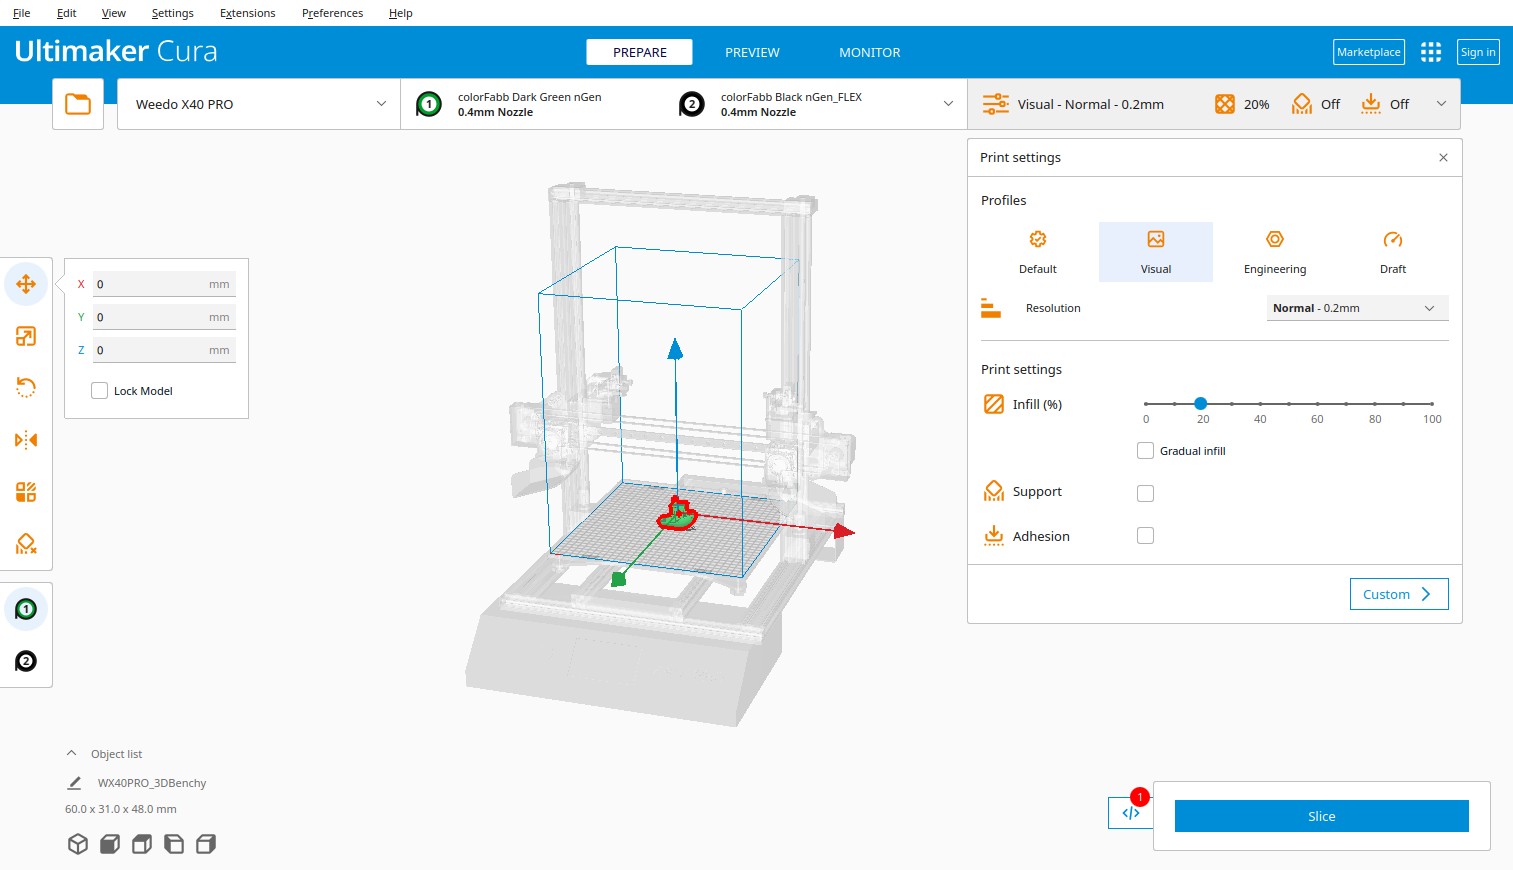
Ultimaker Cura
The Cura configuration is "Ready to use", you only have to buy the appropriate filaments and you can start, without parameter determination, misprints, etc.
The X40 PRO Cura configuration offers a printer visualization with boundary lines for the duplicate and mirror mode. As with Wiibulider, the parameters and the preview image are displayed on the printer. The preview image can also be displayed with the "Read to use" Octoprint 4 Weedo X40 distribution. With the current Cura configuration, the printer can be fully used. The following print modes are possible:
- Single LH
- Single RH
- Dual Mode
- Duplicate Mode
- Mirror Mode
"Easy to use" printing with Cura printing profiles
The "intelligence" is in the Cura printing profile, which works like the Ultimaker system:
- Default profiles
The default printing profile usually creates prints with a wall thickness of two lines that are not particularly stressed. The profile is material-saving. - Visible profiles
With the visible profiles, the focus is on the best possible optics. Most wall thicknesses from three lines are used. - Engineering profiles
The engineering profiles are designed for maximum stability and strength. Visual impairments may occur, particularly on overhangs. - Draft profiles
As the name suggests, the Draft Profiles are designed for high printing speeds. Unfortunately, optics and stability can be severely affected.
Supported Filaments
About 50 filaments with all colors available from the manufacturer are supported. In total, there are several thousand print profiles to choose from.
You can find a list at:
Cura Plugins
With the Cura Thumbnail Plugin for Weedo X40 / X40 PRO you can embed the thumbnail in the gcode. You can view the preview image on the printer display or in OctoPrint. A plugin was specially created for OctoPrint, which is exclusively included in the "Ready to use" distribution.
The following plugins are also useful for the X40 PRO system:
Octoprint
We have created a "ready to use" distribution for the Weedo X40 / X40 PRO. The distribution not only contains the necessary driver to control the printer, but also GUI controls with which you can control the printer. All print modes (single, dual mode, duplicate mode and mirror mode) are available.
Installation and Setup
- Before installation, you should save the printer configuration so that you can reset the printer to its original state if you don't like it.
- Install the X40 community cooling system and test it for function.
- Install Ultimaker Cura and the X40 PRO configuration X40 PRO configuration with the printing profiles and thumbnail plugin.
- Install the latest X40 PRO Firmware
-
Do the printer calibration (PID, Extruder calibration, Axis calibration)
- Do the usual printer setup (Bed leveling, Z offset, XY offset).
- Print a rectangle with a line in one of the supported filaments and check whether the line width from the slicer matches the line width from the print object (see https://teachingtechyt.github.io/calibration.html#flow). If the line width deviates significantly, the calibration may not be correct. With the M221 command in the start code, you can adapt the printer to the print profiles if required (see X40 PRO Extruder upgrade).
If the target line width deviates significantly from the actual line width, this may result in under- or over-extrusion with correspondingly poor print quality.
- Optionally, you can now install the Cura Theme "Aqua"