X40 PRO Pause function
The X40 PRO firmware from version 1.2.0.3 offers a pause function via the gcode. With the M0 command you can pause the printer at any point. The M0 command uses the same function as if you would press the pause on the printer display.
| The M0 command only works when you print from the MicroSD card. Continuing to print after the pause is easy via the touch display. |
What can I use the pause function for?
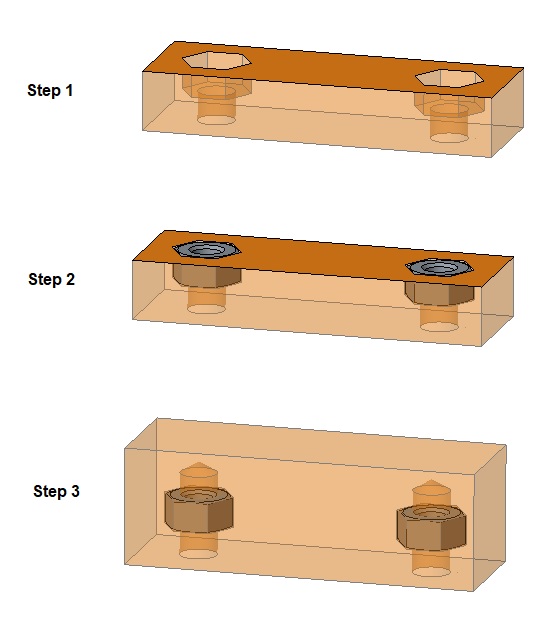
In a component from an FDM/FFF printer, it is difficult or impossible to insert a metric thread into a blind hole for fastening the component. The insertion does not always work without problems and the threaded inserts are difficult to obtain. With the pause function (Step 1), you can easily insert a regular hex nut into a printed hex hole, and then embed the nut.

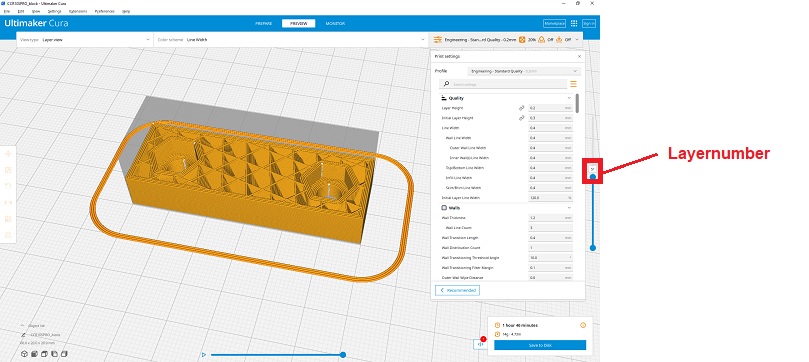
To insert the M0 command for the pause function in the right place, you can use the Cura plugin "Insert print pause for Weedo X40 PRO". View the component so that the axis of the thread is perpendicular to the construction platform. Slice the component and switch to Preview mode. Change the right slider so that the upper edge of the hexagonal hole is just visible. Note the layer number above the slider.

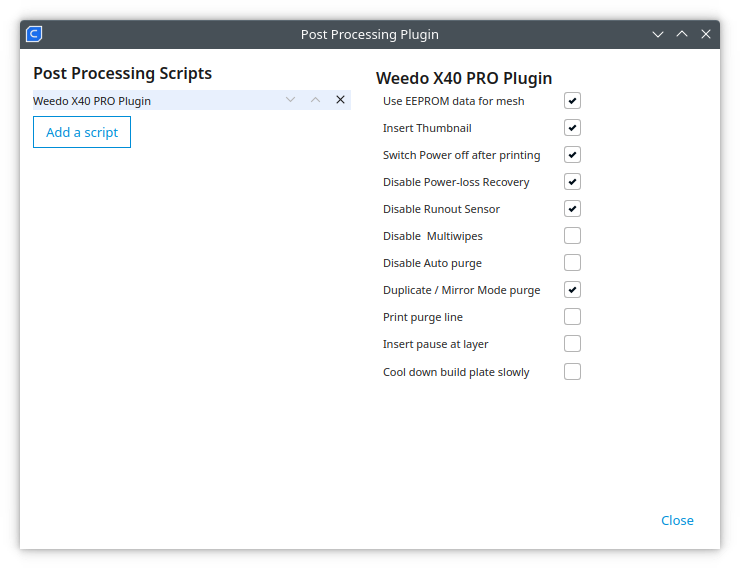
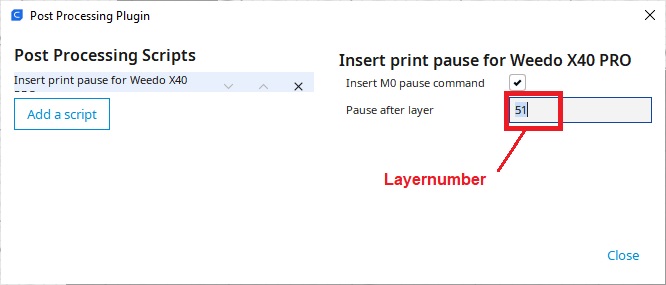
Add the "Insert print pause for Weedo X40" Cura plugin (Exensions -> Post Processing -> Modity G-Code -> Add a script -> Insert print pause for Weedo X40 PRO) and now enter the layer number. After slicing again, the pause command was now inserted in the correct place for inserting the nuts.

Weedo X40 PRO Plugin for Cura 5.X
- Demo Video at Youtube (9:44 Pause function)

Weedo X40 PRO Pause Plugin
Download
- Cura 5.X X40 PRO Plugin (only for X40-Community member)
- Cura 5.X Pause Plugin (only for X40-Community member)
Install the plugin
To install, simply copy the PauseAfterLayer.py file into the scripts directory of the PostProcessing plugin.
Example path for Windows user: C:\PROGs\Ultimaker Cura 5.1.0\share\cura\plugins\PostProcessingPlugin\scripts
